Build a desktop pet in Godot
step 3 of 6: Art and script
Making it pretty!
I’m using this free sprite pack I found on itch.io you can use assets you find online as long as the license allows for it, but I encourage you to make your own art, or commission a friend.
https://smithygames.itch.io/crow-sprite
import your pet’s assets into your project’s FileSystem, you can do this by just dragging your assets in.
To add animations, select AnimatedSprite2D in the Scene tree in the top left,
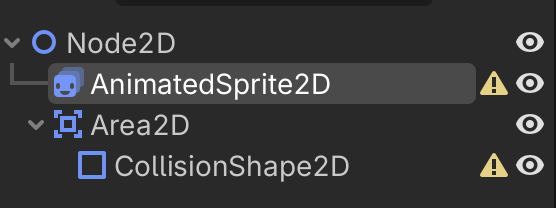
Add a new SpriteFrames resource to the AnimatedSprite2D on the right in the inspector
If you’re using a Sprite Sheet like me, you can use the Add Frames from Sprite Sheet button to slice your Sprite Sheet into its individual frames, else you can easily add frames individually rather than using a Sprite Sheet.
Slice your Sprite Sheet, and rename the animation.
Add more animations for each state your pet has, I’m going to make Walk, and Idle
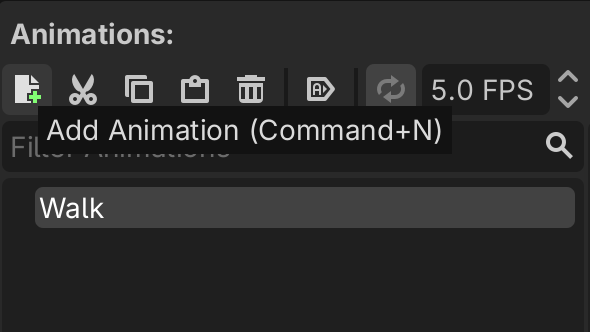
Click play to see your animation!
Select the CollisionShape2D, assign a RectangleShape2D to the Shape field, and scale it to fit the sprite
Yay! The scene is set up, now we can add the functionality
Attach a script to the base Node2D node
- Select Node2D in the Scene tree
- Click the create script button
- Name it whatever you want
Remove everything except for extends Node2D